A logo that looks sharp on a screen can lose legibility, pucker the crown, bleed during washing or migrate through a transfer after production. By matching the decoration method to the artwork, fabric and placement—and approving a sample under realistic stress—you can specify branded caps that remain readable and attached through wear.
Key takeaways
- Choose printing for fine detail and embroidery for raised, durable logos.
- Match decoration to fabric, seams, panels and the cap’s intended location.
- Send vector artwork with correct colours, dimensions and readable small details.
- Approve and test a production sample before ordering branded caps in bulk.
Choose the decoration method before finalising the artwork
Choose the decoration method before drawing the final artwork: match the logo’s detail, the cap fabric and the order’s quantity, budget and durability target.
| Method | Best fit | Main limitation before artwork |
|---|---|---|
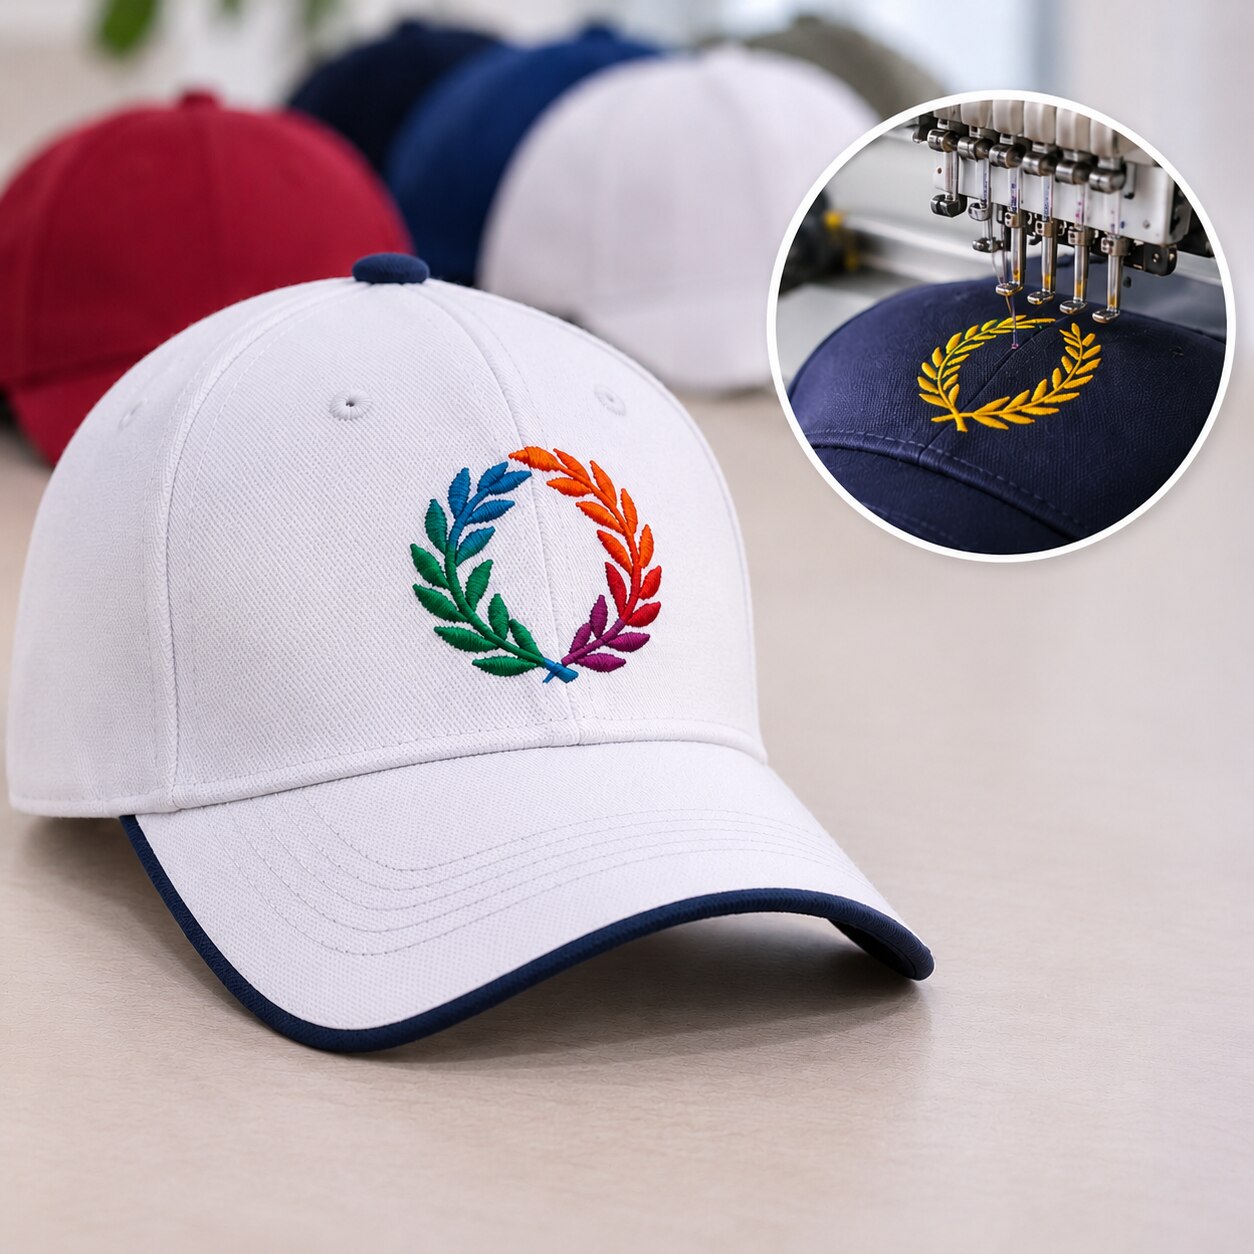
| Direct embroidery | Bold logos and short lettering on stable cotton twill or structured front panels | Stitching across a seam, eyelet or button causes registration errors and thread breaks; keep critical detail on one panel |
| 3D puff embroidery | Large, uncomplicated initials or symbols that need raised impact | Fine lettering, narrow outlines and heavily curved areas do not suit the foam layer |
| Screen printing | Flat, flexible graphics with solid colours on smooth cotton or polyester panels | Small batches cost more to set up, while curved crowns and mesh can reduce edge sharpness |
| Heat transfer decoration | Fine detail, gradients and short runs where a smooth graphic is required | On polyester, test dye migration; cap dye can tint a white transfer pink, grey or another shade |
| Sublimation | Full-colour graphics on light polyester fabric | It is unsuitable for dark caps and does not work on cotton |
| Sewn or embroidered patch | Dense artwork, gradients or large solid areas that could distort a crown | Specify the patch backing and whether attachment uses sewing, heat-seal adhesive or both |
For stretchable or loosely knitted fabric, request cutaway backing; it remains in place and limits distortion. Tearaway backing suits stable woven fabric but can pull out after washing. A patch or transfer is safer than direct embroidery when the design must cross a 5-panel seam.
Confirm stitch density, print curing and attachment method against the expected order quantity before approving artwork.
Match the method to fabric, construction and decoration location
Fabric and crown shape decide both the decoration method and the area that will hold it without distortion. Cotton twill caps accept direct embroidery, patches and screen printing; polyester caps support embroidery, transfers and sublimation when the fabric is white or light-coloured.
| Cap construction | Best-fit decoration | Usable placement and main risk |
|---|---|---|
| Cotton twill caps | Flat embroidery, patches, screen print | Use the front panel; dense stitching can stiffen soft twill |
| Polyester caps | Polyester-thread embroidery, transfers, sublimation | Sublimation suits white or light polyester only; test transfers for dye migration |
| Mesh caps | Small embroidery or a patch | Decorate the solid front panel, not the mesh; heavy designs can pull the netting |
| Structured front panels | Flat or 3D puff embroidery, screen print, transfers | The firm front supports larger designs and cleaner registration |
| Unstructured caps | Light flat embroidery, flexible transfers or soft patches | Avoid dense stitching and large puff designs because the crown collapses and puckers |
Use polyester embroidery thread for sports, institutional and uniform caps exposed to laundering, chlorine or abrasion. Rayon gives more sheen but is less tolerant of bleach and harsh washing. Screen printing works best for bold artwork on one front panel; seams and the curved crown make small multicolour registration unreliable.
- Keep it clear of the centre seam on five-panel caps.
- Reduce width near side panels, curved brims and crown seams.
- Leave mesh, eyelets, ventilation openings and closure hardware undecorated.
- Test white or light transfers on dark polyester for pink, grey or tinted dye migration.
Prepare artwork that can survive digitising and production
A 5 mm embroidered letter is already near the legibility limit: thread diameter and stitch length can close counters in A, R and B. Set the minimum letter height at 4–5 mm for standard embroidery, and use a specialist small-lettering font below that; printed transfers or woven patches preserve finer detail.
- Supply vector artwork in AI, EPS or editable PDF format, with fonts converted to outlines and strokes expanded. Include a measured version at the exact finished width and height, plus a raster preview for colour reference. Do not enlarge a low-resolution PNG and expect digitising to restore missing edges.
- Specify the decoration colours by Pantone reference or physical swatch, not RGB values from a monitor. Name the thread type and colour; polyester thread suits laundering, abrasion and institutional use better than rayon, while rayon provides more sheen.
- Mark the cap centreline, panel boundaries and intended placement on the artwork sheet. Keep lettering, thin outlines and registration-critical details out of safe areas near seams and brim; direct embroidery over a seam, eyelet, button or sharp curve causes broken stitches and misalignment.
- Approve the embroidery digitising file before production. Ask for stitch type, stitch count, backing, thread colours and a sew-out at actual size. For 3D puff, remove tiny counters and thin outlines, widen satin columns and round corners so foam cleanup does not tear the design.
If artwork must cross a seam or contains dense detail, redesign it as a sewn patch or printed transfer rather than forcing direct embroidery. Record the final dimensions and placement tolerance on the purchase specification.
Approve a production sample before ordering in bulk
A bulk approval should rely on a production sample made on the exact cap body, colour, seam construction, backing and decoration method you will receive. A changed fabric, thread brand or transfer temperature can alter registration, puckering, colour migration and adhesion without changing the artwork.
1. Confirm the logo scale and placement against the approved artwork. Check crown height, side-panel position and distance from the visor, eyelets, button and seams; lettering should remain readable and critical outlines should not cross structural features.
2. Examine thread and ink colour in daylight and under the lighting used at events or stores. Compare the sample with a physical colour reference, not only a screen image, and check that dark polyester has not caused dye migration into a transfer.
3. Inspect embroidery for puckering and skipped stitches, loose thread ends, uneven satin columns, exposed backing and broken outlines. Excessive stitch density can distort an unstable crown rather than make the logo tougher.
4. Flex the crown, bend the brim and wear the cap briefly. Look for a patch lifting at its edge, a transfer cracking, uncomfortable backing, distorted seams or a logo that shifts on the curved surface.
5. Record the approved sample’s cap style, fabric, colour, thread and ink colour, decoration position and measurements. Ask Promotional Cap Manufacturer to retain that reference and reject substitutions unless you approve a new sample.
Sign the sample or photograph each view with measurements before releasing the purchase order. The bulk shipment must match that physical reference, not merely the digital file.
Related products
 | CORPORATE CAP MANUFACTURERS Pune Maharashtra India We Are Best Corporate Caps Manufacturers in Pune Maharashtra India , Corporate Caps suppliers, exporters, wholesalers and... View product → |
 | PROMOTIONAL CAP MANUFACTURERS We Are Best Promotional Caps Manufacturers in Pune Maharshtra India , Promotional Caps suppliers, exporters, wholesalers and distributors in Pune... View product → |
Test colour, attachment and abrasion instead of trusting a wash claim
A single wash claim proves little: a logo can keep its colour while stitches loosen, adhesive lifts, or the cap fabric wears through. Approve a decorated sample made on the exact cap body, thread or ink, backing, patch construction, and production settings intended for the order.
Run the sample through your real use conditions, not a generic laboratory promise. Record detergent, water temperature, cycle, drying method, number of washes, and inspection points. Request separate results for:
- Colourfastness after laundering, using ISO 105-C06 or an agreed equivalent, with a stated rating or visible comparison standard.
- Colour transfer and staining from sweat, including a synthetic-perspiration exposure at the expected wear time.
- Sunlight exposure, with hours or an agreed lightfastness method; inspect fading on the logo and surrounding fabric.
- Rubbing on the decorated area, using ASTM D4966 for abrasion resistance where relevant, plus a dry and wet rub check for print, thread and patch edges.
- Flexing the crown and bending the brim repeatedly, then checking cracked ink, broken stitches, puckering, lifted edges and loss of adhesion.
Specify the pass/fail limit for each test rather than accepting “wash durable.” Ask whether the decoration uses polyester or rayon thread, the transfer’s cure temperature and dwell time, and whether a patch is sewn, heat-sealed, or both. Colourfastness and abrasion resistance are separate requirements; test each.
Keep an unwashed control sample beside the tested cap so fading, distortion and attachment loss are obvious.
Frequently asked questions
Should you choose cap printing or embroidery first?
Choose the decoration method before finalising artwork. Base the decision on logo detail, cap fabric, order quantity, budget and durability target.
How do fabric and cap construction affect decoration?
Match the method to the fabric, panel, seams and decoration location. Curved front panels, mesh and structured caps each affect placement and finish.
What artwork should you submit for cap printing or embroidery?
Prepare clean artwork that can survive digitising and production. Confirm the final dimensions, colours, line thicknesses, lettering and spacing before approval.
Why approve a production sample before a bulk cap order?
A sample reveals changes in colour, logo scale, placement, thread density, attachment and construction that a digital proof cannot show.
How should you test a branded cap’s durability?
Test colour, attachment and abrasion on the production sample instead of relying only on a wash claim.