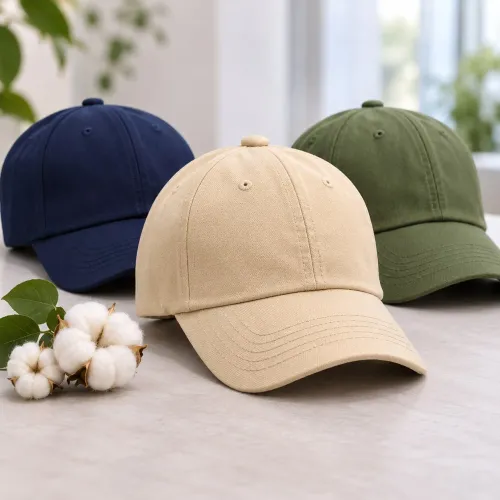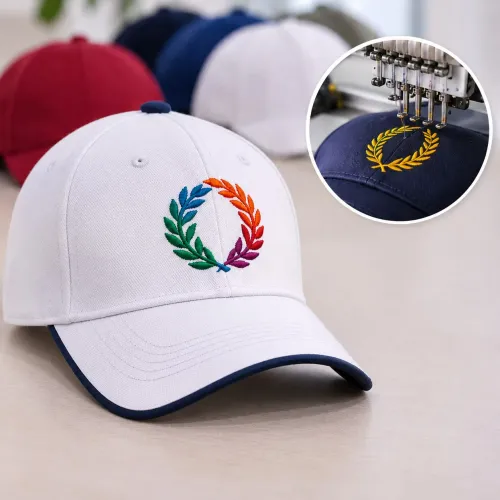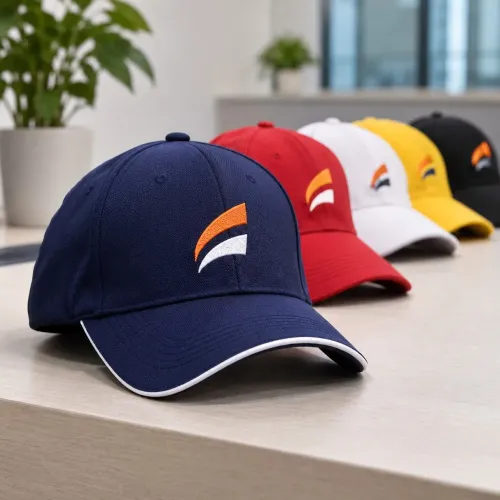
A cap that looks correct on a screen can arrive with cramped lettering, distorted artwork, mismatched colours or the wrong size mix. You will be able to prepare production-ready artwork, choose a decoration method and cap construction, approve a physical proof, and plan quantities that work for your audience.
Key takeaways
- Send vector artwork with outlined text and separated colours.
- Choose embroidery, screen printing or transfer by detail and wear.
- Approve one physical sample before confirming bulk production.
- Record cap construction, sizes, colours and decoration specifications.
Prepare the Logo for the Cap, Not Just the Screen
A logo that looks crisp on a monitor can become a blob, crooked mark or unreadable name on a curved cap front. Start with production-ready artwork: supply AI EPS SVG files with outlined text, separated colours and no hidden effects, then rebuild gradients, shadows and photographic detail for the chosen decoration method.
- Remove hairline strokes and simplify tiny internal gaps. Ask the decorator to confirm the minimum sewable stroke for the finished logo size; lettering around 6 mm high or less often closes in satin stitches.
- Mark the usable area around the centre seam, eyelets, bill and panel edges. Do not stretch a flat rectangular design over a curved front or place important detail across a seam.
- Treat embroidery digitisation as a separate production step, not a file conversion. The digitizer sets stitch type, density, underlay, pull compensation and sew order, so request a sew-out before approving bulk production.
- Use bold, separated shapes for puff embroidery; foam increases edge width and leaves fine text vulnerable. Move detailed artwork to a woven or printed patch when the lettering cannot survive stitching.
- Test heat-applied artwork on the actual fabric and colour. Dark polyester can cause dye migration or ghosting beneath light transfers, so specify a low-bleed system, blocker layer, dwell temperature and pressure.
Approve a physical cap sample or measured sew-out, not only a screen mock-up. Check thread colours, legibility, puckering and the distance from the seam and bill; a successful test on cotton does not validate polyester custom logo caps.
Choose Decoration by Detail, Durability and Surface Area
Choose the decoration by matching the artwork’s detail and size to the fabric, then test it against expected wear. Cap embroidery gives a durable, premium finish for bold, solid logos on structured caps, but thread adds weight and can pucker lightweight or unstructured fabric.
| Method | Best fit | Main trade-off |
|---|---|---|
| Cap embroidery | Small to medium bold logos on cotton or structured caps | Durable and breathable, but fine text, gradients and narrow strokes lose clarity |
| Screen printing | Large flat graphics on cotton or smooth panels | Economical for broad areas, but uses more colour setups and struggles with curved seams |
| Heat transfer | Simple logos, names or numbers across larger areas | Smooth and economical, but heat can deform foam, bonded buckram or visors |
| Direct-to-film transfer | Detailed, multicolour graphics and gradients | Strong detail and colour coverage, but check breathability and polyester dye migration |
| Woven patch | Small detailed artwork needing a defined edge | Preserves fine detail, but adds patch thickness and sewing work |
| Silicone or rubber badge | Bold logos needing a raised, weather-resistant finish | Durable and distinctive, but less suitable for intricate artwork |
Use a low-bleed transfer and blocker layer on dark polyester; test at the specified temperature, pressure and dwell time. Cotton can shrink in laundering, so record the fibre and wash method. Reject any digital proof that crosses a centre seam or sits near the bill until a measured sew-out or physical cap sample confirms placement.
Three-dimensional puff embroidery needs separated, bold shapes, not fine lettering.
Match the Cap Construction to the People Wearing It
Choose the construction by wearer, activity and care routine, not logo shape alone. Five-panel caps offer a broad front area but place decoration near a centre seam; six-panel caps curve more evenly. Approve a physical sample with measured placement because a flat proof can distort near the seam, eyelets, bill or internal buckram.
| Construction | Best fit | Check before ordering |
|---|---|---|
| Five-panel caps | Events and streetwear campaigns | Flat-front shape, seam position and crown depth |
| Six-panel caps | Baseball teams and general uniforms | Curvature, bonded buckram and brim shape |
| Trucker caps | Outdoor events and hot conditions | Mesh ventilation, foam front and closure strength |
| Baseball caps | Teams and everyday corporate wear | Curved bill, sweatband and adjustable or fitted sizing |
Select cotton for a natural hand feel, but record shrinkage risk and machine-wash instructions. Polyester handles active wear better; dark fabric can cause dye migration beneath a light heat transfer, so test the specified temperature, pressure and dwell time with a blocker or low-bleed system. Avoid excessive heat around foam, visors and adhesive-backed badges.
Specify crown depth, head-size range, closure type, fabric weight, colourfastness, sweatband and eyelet material. Fitted caps require a size curve and an exchange plan; adjustable closures widen the range but can conflict with uniform appearance or hair containment. For children, settle age targeting first and check applicable lead, phthalate, tracking-label and third-party testing requirements.
Set Sizes, Colours and Proof Approvals Before the Bulk Order
Set the size curve before requesting a price. Adjustable caps cover a broader wearer range, but fitted caps require quantities by head size, an exchange policy and a plan for leftover stock. Confirm whether uniform appearance, hair containment or an institutional dress code rules out an adjustable closure.
1. Record the intended wearer group, head-size range and quantity per size. For fitted caps, approve the size curve in writing; do not let the supplier assume equal quantities.
2. Specify cap colour using a physical swatch or approved colour standard. Pantone matching helps communicate the target, but embroidery thread comes from a finite library and looks different against each fabric. Name the approved thread-library colour or require a physical strike-off.
3. Request a digital proof showing cap front, side view, logo dimensions, seam position and distance from the bill. Approve it for layout only. The centre seam, curved front panel, eyelets and buckram can distort a logo that looks correct on a flat rectangle.
4. Approve a physical cap sample or embroidery sew-out with measured placement. Check thread colour, stitch density, legibility, puckering and decoration height before authorising bulk production.
5. Test the exact decoration on the production fabric, especially dark polyester. Require the specified dwell temperature and pressure, and check for dye migration or ghosting before signing off the full order.
Record every approval by version, colour code, logo size, placement measurement and approver name. A changed file or fabric after sign-off needs a new proof.
Turn the Approved Sample into a Reliable Production Specification
A signed physical sample is the production reference, not the digital mock-up. Record the cap style, fabric composition and colour, crown depth, brim shape, closure, head-size range, sweatband, eyelets, decoration method, logo dimensions, and measured distance from the centre seam and bill.
Attach a pre-production sew-out or decorated cap to the specification. It must show the approved thread-library colours, stitch type, density, underlay, pull compensation, sew order, backing, and placement. Check lettering at its smallest size, puckering over the curved front panel, and distortion caused by the seam, internal buckram, or bill.
Use this acceptance checklist:
- Approve a physical strike-off when a brand colour matters; a Pantone number on screen does not guarantee an embroidery-thread match.
- For polyester, test the exact fabric and decoration system at the specified dwell temperature and pressure. Require a low-bleed transfer and blocker layer when dark fabric could migrate through a light design.
- Test colourfastness to perspiration with AATCC TM15 and dry or wet crocking with AATCC TM8. Write the minimum passing rating into the purchase specification before production.
- Wash-test the finished cap when users will launder it. Record the cycle, water temperature, drying method, dimensional change, logo adhesion, and shape retention.
- State the maximum pressing temperature; excessive heat can deform foam, bonded buckram, visors, or adhesive-backed badges.
Promotional Cap Manufacturer should receive this complete specification with the approved sample, test conditions, tolerances, packaging requirements, and a rule that no substitute fabric, thread, or decoration process proceeds without written approval.
Frequently asked questions
What artwork file is best for printing a logo on caps?
Supply AI, EPS or SVG artwork with outlined text, separated colours and hidden effects removed. Rebuild gradients, shadows and photographic details for the selected decoration method.
How do you choose between embroidery and printing on caps?
Compare the logo’s detail, required durability and available decoration area. Fine detail, gradients and small text need a different method from bold, simple marks.
How should you choose cap construction for an event or team?
Match the crown shape, closure, fabric, ventilation and brim to the people wearing the caps and the conditions of use.
What must be approved before placing a bulk cap order?
Confirm sizes, cap colours, logo placement, decoration colours and quantities, then approve a physical sample or production proof.
What belongs in a cap production specification?
Record the approved cap style, materials, measurements, colours, artwork version, decoration method, placement, thread or ink colours and inspection requirements.