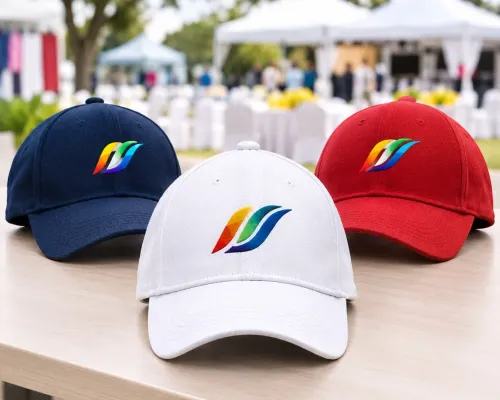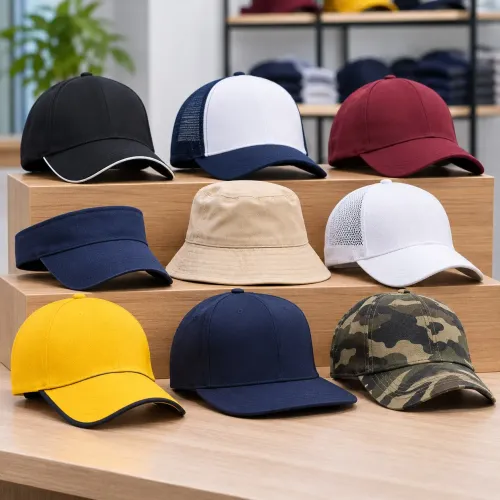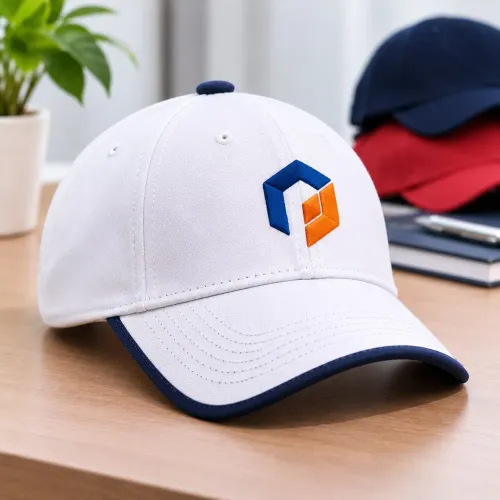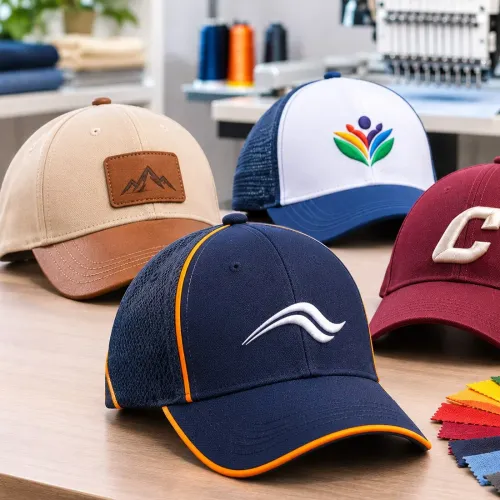
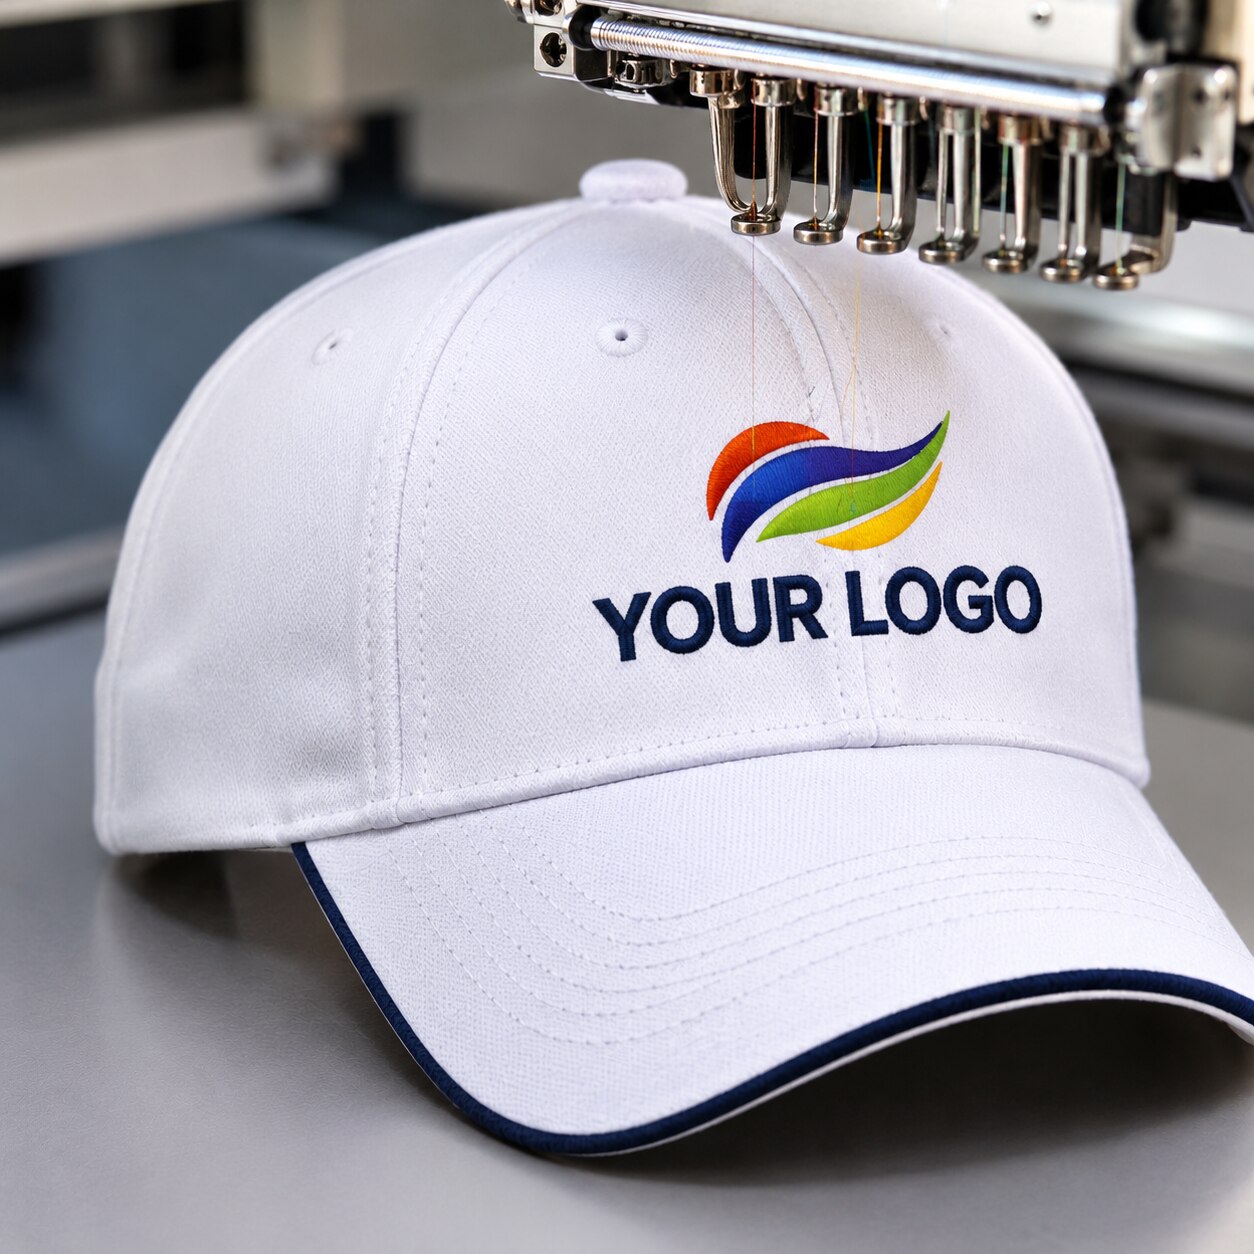
A cap logo becomes difficult to read when the decoration method, cap fabric, artwork scale and placement work against one another. By the end, you will be able to match a logo process to the cap, specify artwork that survives production, and approve a physical result that remains clear at working distance.
Key takeaways
- Match decoration method to fabric, structure and logo detail.
- Size the logo for clear reading at the intended viewing distance.
- Approve a physical proof for colour, registration and durability.
- Specify artwork, placement, quantities and quality requirements in writing.
Choose the Decoration Method That Matches the Cap
The clearest cap logo comes from matching the decoration method to the fabric, surface structure and artwork detail—not from choosing the most expensive process.
| Method | Clearest result on | Main limitation |
|---|---|---|
| Embroidery | Structured cotton, twill and heavier polyester; bold symbols and lettering | Fine lines and tiny text lose definition on unstructured or mesh caps |
| Screen printing | Cotton caps and flat, high-contrast logos with larger shapes | Dark caps need an opaque underbase, which can soften narrow gaps and small counters |
| Heat transfer | Nylon or polyester caps needing simple names, numbers or solid shapes | The film remains visible and can peel if the cap flexes or the application is poorly controlled |
| Direct-to-film transfer (DTF) | Cotton, polyester and blends carrying detailed, multicolour artwork | Produces a surface film and requires a production-cap adhesion test |
| Woven patch | Structured five-panel and uniform caps needing small text or a badge-style mark | Adds thickness and changes the logo from printed artwork to a patch |
| Sublimation | White or light polyester with a low-profile, full-colour graphic | Unsuitable for cotton and poor on dark fabric without a different construction |
For a soft hand on cotton, choose water-based screen printing; plastisol is easier to run but leaves a more noticeable film. On polyester, test for dye migration: heat can turn white ink pink, grey or another tint, so request low-bleed ink and a production-cap sample.
Approve curing by measuring the ink film’s temperature, not the press display. A surface probe or temperature strip catches under-cured areas caused by thick crowns and uneven contact.
Set Logo Size, Detail and Placement for Distance Reading
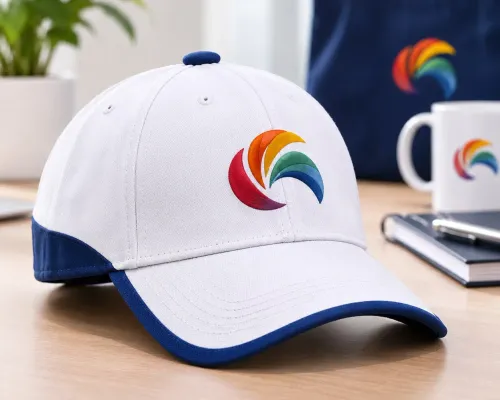
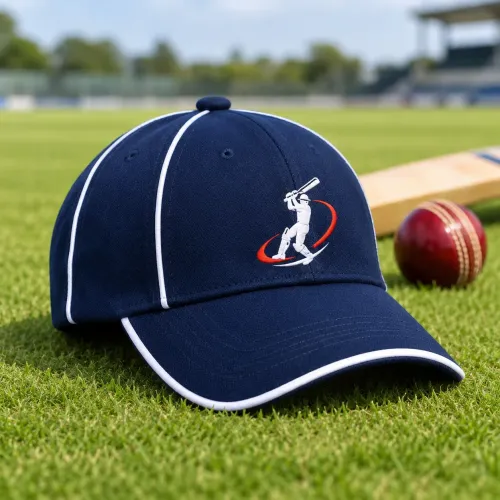
Choose the logo size from the distance at which people must recognise it, not from flat artwork on a screen. The viewer should identify the name or symbol before seeing the cap up close. Increase letter height, simplify internal shapes and set line thickness for the viewing distance; tiny counters and narrow gaps disappear first.
Use placement according to recognition priority:
- Define front panel placement from the centre-front seam or measured panel centre, not the apparent panel edge.
- Keep the primary mark clear of the centre seam, eyelets, top button and buckram; the usable area is smaller than the visible panel.
- Use a side panel or back arch for secondary identifiers when front recognition carries the main message.
- Keep visor graphics compact and away from folds and sharply changing curvature.
Do not approve fine detail from a flat paper or digital proof. Request a strike-off on the actual cap construction and colour; fabric texture, opacity and curvature change perceived colour and edge sharpness. For a uniform run, record positional tolerance in millimetres and retain the approved cap as the reference sample.
This catches drift before production.
Prepare Artwork and Prevent Cap-Specific Printing Failures
Send a vector master in Adobe Illustrator AI, EPS or SVG format. Convert colours to CMYK before approval, define spot colours where exact brand matching matters, and outline all fonts so substitutions cannot change letter shapes. Include a separate, high-resolution raster reference only to show intended appearance.
- Remove hidden layers, stray points and unnecessary transparency. Clean paths prevent ragged edges and unexpected marks.
- Mark the permitted print zone on a cap template. Keep artwork away from the centre seam, eyelets, top button and buckram; the usable area is smaller than the visible panel.
- Ask for a cap-specific platen or jig. It holds the curved crown consistently and improves registration across repeated pieces.
- For heat transfers, keep every edge inside a verified seam-free zone. A seam beneath the graphic can cause wrinkling, incomplete adhesion or edge lift.
- Match ink to the fabric. Use low-bleed ink and test a production polyester cap, because migrating dye can turn white or pale ink pink, grey or tinted.
- Record the actual ink-film cure temperature with a temperature strip, surface probe or equivalent control. A dryer or heat-press display does not prove that the thick crown reached cure temperature.
Water-based ink needs controlled screen-open time because it can dry in the mesh; plastisol stays workable longer but leaves a more noticeable film. Approve fine detail from a strike-off on the actual cap construction, not a flat paper print.
Use Physical Proofs to Approve Colour, Registration and Durability
A digital proof confirms the artwork, not the printed result. Fabric colour, texture, ink opacity and any underbase can shift the logo’s appearance, so request a physical sample or strike-off on the selected cap material and colour.
- Compare the strike-off with the approved digital proof and colour reference under the lighting used by your team. Check the logo’s hue, opacity, edge sharpness and contrast; do not approve from a flat paper sample.
- Inspect registration on the curved cap. Check alignment against a defined reference point, such as the centre-front seam or panel centre, and record the allowable positional tolerance for bulk production.
- Examine fine letters, narrow gaps and small marks at the intended viewing distance. The usable limit changes with mesh count, fabric texture, underbase and curvature, so the cap-specific strike-off is the evidence.
- Test durability against the service requirement. AATCC TM8 measures colour transfer through crocking, while AATCC TM61 is an accelerated laundering procedure; state the required rating, wash count or service-life criterion because neither method sets your acceptance limit.
- Confirm the cure process before approval. Measure the temperature reached by the ink film with a temperature strip, surface probe or equivalent control, since a dryer or heat-press display does not prove that thick or uneven cap areas cured fully.
Keep the approved physical sample with the purchase specification. It gives the production team a fixed reference for colour, placement, registration and finish instead of relying on a screen image.
Turn the Decision Into a Clear Bulk-Order Specification
Put every production decision in the purchase specification, not in a phone call or an unmarked artwork attachment. State the cap fabric, colour, structure, panel count, quantity by size, decoration method and delivery date.
1. Name the logo process: screen print, heat transfer, direct-to-film transfer, embroidery, woven patches or sublimation. Record ink type, thread or transfer colours, Pantone references, finish, and whether the logo must remain readable on polyester, nylon or mesh.
2. Attach final vector artwork and specify finished logo width, height, line thickness, letter height and placement. Use a fixed reference such as the centre-front seam or panel centre, then state the allowable positional tolerance in millimetres.
3. Require production on a cap-specific platen or jig. Identify the approved retained sample by date and version, and state that bulk caps must match its colour, registration, scale, placement and finish.
4. Write the process controls into the order. For printed logos, specify the ink-film cure condition and require temperature-strip, surface-probe or equivalent verification; a dryer display setting alone proves nothing. Require a polyester production-cap test for dye migration.
5. Define acceptance testing: crocking rating under AATCC TM8, wash count and rating under AATCC TM61, peeling limits, inspection sample size and rejection procedure.
Promotional Cap Manufacturer can use this level of detail to compare quotes accurately, because “logo printing included” does not define the cap, process or acceptance standard.
Related products
 | CORPORATE CAP MANUFACTURERS Pune Maharashtra India We Are Best Corporate Caps Manufacturers in Pune Maharashtra India , Corporate Caps suppliers, exporters, wholesalers and... View product → |
 | PROMOTIONAL CAP MANUFACTURERS We Are Best Promotional Caps Manufacturers in Pune Maharshtra India , Promotional Caps suppliers, exporters, wholesalers and distributors in Pune... View product → |
Frequently asked questions
How do you choose a decoration method for a cap logo?
Match the method to the cap’s fabric, surface structure and artwork detail, then compare the finish and durability each method provides.
How large should a logo be on a cap?
Set the logo size according to its viewing distance and test whether text and fine details remain readable on the curved cap surface.
What artwork preparation prevents cap printing failures?
Supply production-ready artwork with defined colours, correct dimensions and placement instructions, and check how the design adapts to the cap’s seams and curved panels.
Why approve a physical proof before a bulk cap order?
A physical proof lets you check colour, registration, placement and durability on the actual cap before approving production.